
The Windows 11 features that are not readily apparent to the user but that you would want to make use of when compared to Windows 10, Windows 11 comes with a much bigger number of new features. However, not all of these enhancements are immediately noticeable to the user. There are some of them that are hidden in a faraway spot, while others are simply waiting for you to find them. Some of them are hiding in the backdrop.
Over the course of this essay, we will talk about certain gems that are not given enough credit, but have the ability to make your experience more enjoyable, more efficient, and more streamlined.
- Through the use of only your mouse wheel, you are able to control the volume.
- This is a nice minor shortcut that you can utilize if you frequently make modifications or troubleshoot issues. You can use it.
- Through the utilization of the Snipping Tool, it is possible to remove text from photos.
- As a means of accelerating the progression of proceedings:
- In order to activate it, you need only navigate to Settings > System > Display > Night Light after that.
- In conclusion, some remarks
Through the use of only your mouse wheel, you are able to control the volume.
Using the volume keys on your keyboard and altering the sound via the Quick Settings panel are both totally appropriate ways to work with the sound. Both of these approaches are capable of producing similar results. This is a fascinating little trick that you might not be aware of, and it is as follows:
To make adjustments to the volume, you need only move your cursor over the symbol that represents the volume on the taskbar and then scroll your mouse wheel up or down. You will be able to make adjustments to the sound without having to reach for your keyboard or access the volume slider. This will allow you to make adjustments. When you give it a try, you will discover that it is far faster and more useful than you anticipated.
- To check if this feature is on, just go to Settings > Bluetooth & Devices > Mouse, and look for the option that says “Scroll inactive windows when hovering over them.”
- It might seem like a small thing, but once you start using it, you’ll seriously wonder how you ever got by without it. It is especially important to keep this in mind if you are the type of person who constantly changes between different mobile applications or games.
Unlocking “God Mode” will allow you to more easily access all of the settings on your controller.
When you were using Windows 11, did you ever find that you were unable to locate a specific setting in the settings menu? The God Mode is now operational. Due to the presence of this secret feature, the vast majority of the system’s configuration is consolidated into a single folder that is easy to navigate.
Following the activation of this feature, a one-of-a-kind folder will display on your desktop. There is a comprehensive list of everything that can be found within this folder, ranging from display options to utilities for controlling devices. It is no longer necessary for you to travel through five distinct menus in order to obtain information that you require.
This is a nice minor shortcut that you can utilize if you frequently make modifications or troubleshoot issues. You can use it.
Utilize a Straightforward Shortcut to Instantaneously Launch Programs in the Role of Administrators, when it comes to your administrative responsibilities, do you need to carry out something? In order to navigate through the menus, the majority of users utilize the right mouse button. Nevertheless, there is an approach that is more time-efficient.
- The Run box can be opened by simultaneously pressing the Win key and the R key on your keyboard.
- For example, you may enter the name of the application, which would be regedit.
- You should press Ctrl + Shift + Enter instead of pressing Enter. This will allow you to enter the value.
There is no need for a mouse because commands are accessible instantly. There’s a clever little trick that’s popular with IT pros and power users—give a window a quick shake, and everything else on your screen will minimize, leaving just that one window open. Sound familiar? It’s the Aero Shake feature from back in the Windows 7 days. Yep, it’s still around! The Title Bar Window Shake is still in existence, despite the fact that it has been rebranded as something else.
Activating it requires you to take these steps:
- Proceed to Settings > System > Multitasking to open the menu.
- The toggle button labeled “Title Bar Window Shake” should be clicked.
You need simply grab the window that you want to keep open, give it a little wiggle with your mouse, and all of the other windows will minimize. This is all that is required to take benefit of it. This is a great choice for situations in which you need to concentrate quickly and your screen is already saturated with content.
Through the utilization of the Snipping Tool, it is possible to remove text from photos.
Snipping Tool now has built-in Optical Character Recognition (OCR) in Windows 11, which enables users to extract text straight from screenshots or photographs without the need for additional programs. This feature was introduced in Windows 11.
To get started, make sure that your Snipping Tool is up to date (at least version 11.2308.33.0), and then go to the following destinations:
- Would you kindly snap a screenshot?
- It is necessary to click the button labeled Text Actions.
- To accomplish this, all you need to do is pick the text and then copy it.
- Whether they are students, office professionals, or anybody else, it is a game-changer for anyone who works with scanned papers or images. It transforms the way they conduct their jobs.
Borders can be automatically applied to screenshots through the use of this feature.
If you take a lot of screenshots, whether for job reports, tech advice, or lessons, adding a border to your screenshots helps to separate them when you are sharing or uploading them. This is beneficial if you record a lot of photographs.
- Activating it within the Snipping Tool requires the following steps:
- After clicking the three dots, a menu will open; select Settings from the list of options that displays.
- On the screen, activate the option that says “Add Border to Each Screenshot.”
- You can customize both the color and thickness of the border to match your style—no need to fire up Photoshop anymore.
And here’s another cool trick: you can scroll through background windows without even clicking on them. Just hover your mouse over the window and scroll—simple as that!
This one will be of great use to you if you have a configuration that involves a large number of monitors or if you have a large number of windows open at different times. The Inactive Window Scrolling function enables you to scroll a background window just by hovering over it; clicking on the window itself is not required in order to accomplish this.
This is the point at which you should activate it: By heading to Settings > Bluetooth & Devices > Mouse, you may activate the option that enables you to scroll inactive windows when you are hovering over them.
Now, you can scroll around a document or browser in the background while you are typing in another location. This feature was previously unavailable. The modification is uncomplicated, yet it unquestionably increases productivity. Your file searches will be completed more quickly as a result of the better indexing.
If Windows Search makes you feel sluggish or fails to locate the items you are looking for, it is probable because it is only scanning the default directories, such as Documents and Desktop. If you are unable to find the items you are looking for, it is also possible that the search is not being performed properly.
As a means of accelerating the progression of proceedings:
- The first thing you need to do is go to Settings > Privacy & Security > Searching Windows.
In the Find My Files area, you should transition from the Classic mode to the Enhanced mode. A greatly increased amount of your files will now be indexed by Windows, which will result in searches that are significantly quicker. Users who keep their data in custom folders or on external storage will benefit tremendously from this feature in particular.
You can lessen the strain on your eyes by switching to the night light setting. Do you find yourself looking at a screen for the late hours of the night night? If you find that you are staring at your screen for extended periods of time, you might want to think about turning on Night Light, the blue light filter that is built into Windows 11. The screen’s color temperature will grow warmer, and as a result, it will be far less taxing on your eyes.
In order to activate it, you need only navigate to Settings > System > Display > Night Light after that.
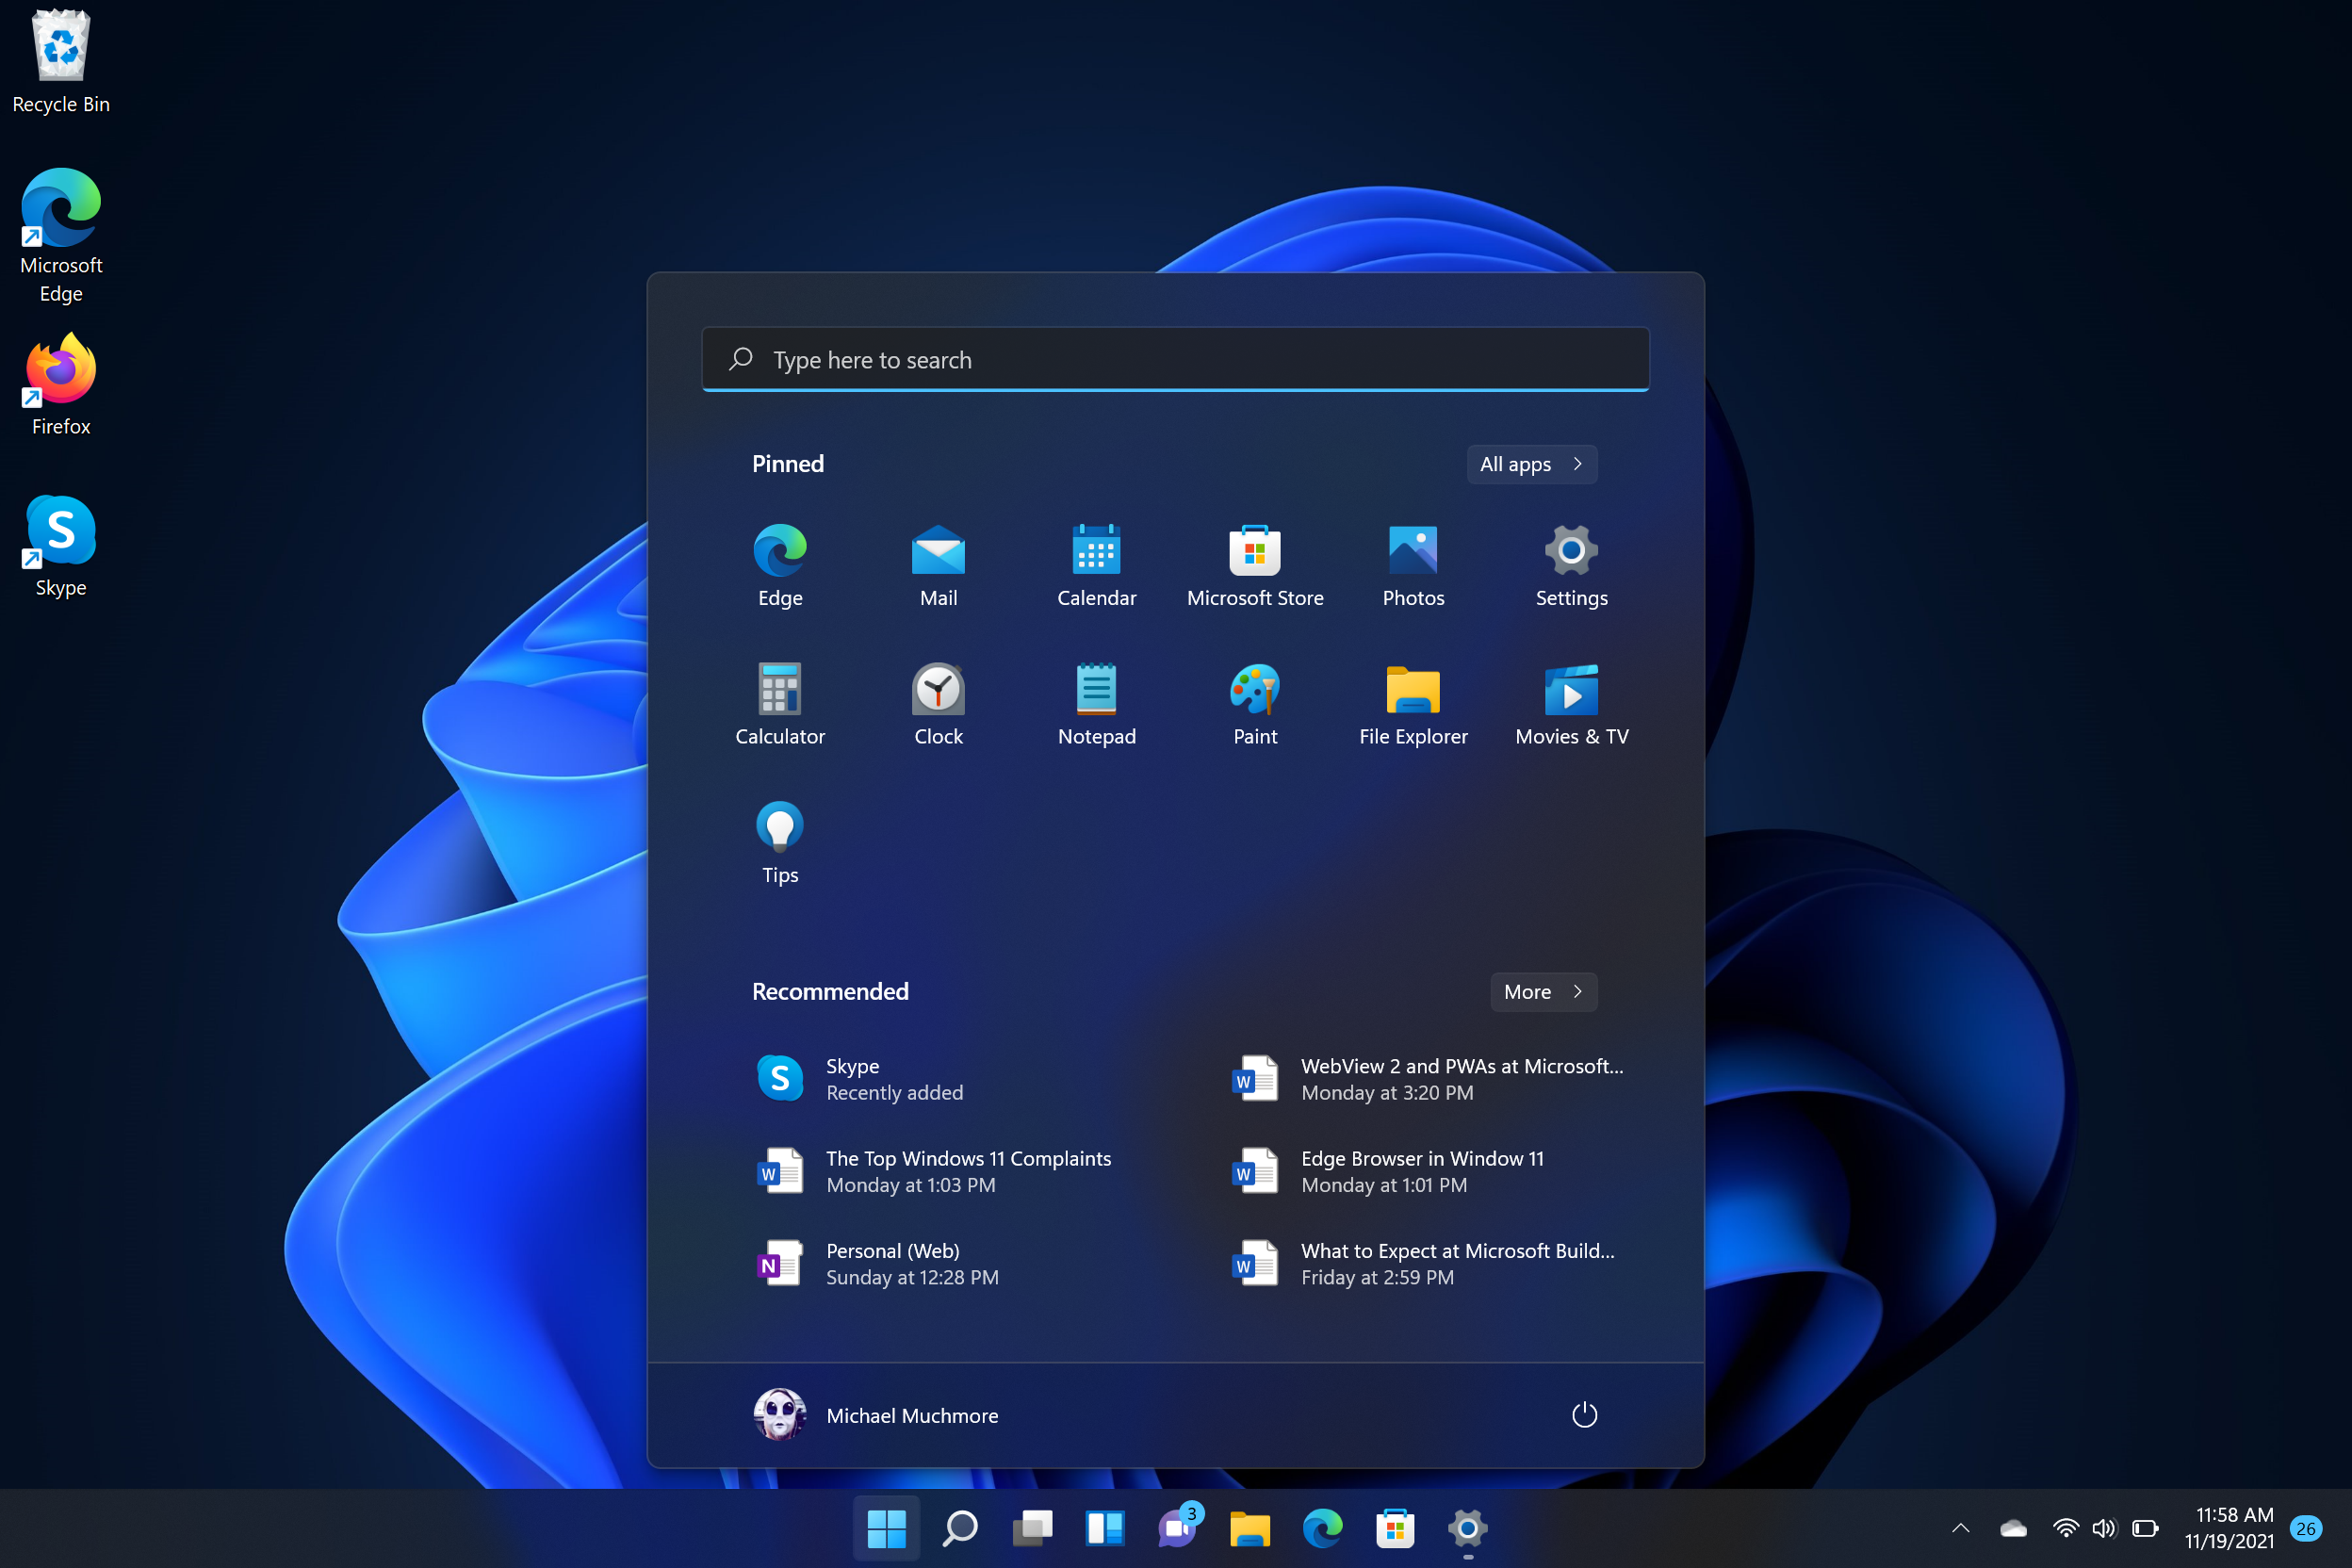
Additionally, you have the ability to configure it to turn on automatically at sunset or at any other time that is convenient for you. This is an option that is available to you. It is the perfect companion for people who prefer staying up late, such as gamers, night owls, and anyone else who appreciates staying up late. Do you require a speedy answer to a mathematical problem that you have been working on? Inside of Windows 11, there is a calculator that is built right into the Start Menu. This is one of the hidden features of the operating system.
It is not need to start the Calculator program or Google in order to obtain the result; all you need to do is click the Windows key, input the number, which may be something like 250 + 300, and it will show immediately. Yes, it is extremely simple!
Even though it is a relatively insignificant function, if you start using it, you will experience a reduction in the number of clicks you make each and every time.
You should make use of the built-in spell check and autocorrect tool wherever you go. A system-wide spell check and autocorrect feature has been included in Windows 11, which means that it is no longer necessary to install Grammarly or any other programs in order to detect problems. This is because Windows 11 now has this feature.
It is conceivable because of the following:
- Typing Setting can be found under Adjustments > Time & Language.
For optimal results, it is recommended to select both the “Highlight misspelled words” and the “Autocorrect misspelled words” choices. - This functionality is compatible with a wide range of applications, including Word, your web browser, email, and even chat apps. Those that type a lot, whether they are professionals, students, or anyone else, will find it to be a wonderful option.
In conclusion, some remarks
Windows 11 is loaded with a multitude of features that are operating in the background. These lesser-known capabilities have the potential to make your workflow more efficient, assist you in avoiding the use of apps that are provided by third parties, and enhance the overall experience of using your personal computer to make it feel like a more intelligent experience.
Is there a particular trick that you like to use in Windows 11? You want more guidance that is comparable to this one? In the event that you inform me, I will seek for more findings that are valuable!
How to enable God Mode in Windows 11, scroll inactive windows without clicking Windows 11, how to control volume with mouse wheel in Windows 11, hidden productivity features in Windows 11, Windows 11 tips for multitasking and focus, how to extract text from images using Snipping Tool, best Windows 11 features for power users, how to use Title Bar Window Shake in Windows 11, enable blue light filter night light Windows 11, shortcut to run apps as administrator in Windows 11, how to improve Windows 11 search indexing, how to add borders to screenshots in Windows 11, hidden Windows 11 features that boost productivity, how to use built-in spell check and autocorrect in Windows 11, best Windows 11 settings for gamers and night owls, how to launch programs with admin rights using keyboard, Windows 11 snipping tool OCR not working – how to fix, scroll through background windows in Windows 11, how to do math directly in Windows 11 Start Menu, must-know Windows 11 tweaks for advanced users


Leave a Reply